Using WooCommerce Rocketpay for WordPress CMS
This manual describes how to use the WooCommerce Rocketpay plug-in version 1.0. The plug-in allows you to perform payments and refunds by using Rocketpay payment solutions for sites that are based on CMS WordPress version 4.9 or later with the WooCommerce plug-in version 3.2 or later.
To download the plug-in WooCommerce Rocketpay follow the here.
Operational scheme
Payments are processed by using Rocketpay payment page, refunds are performed by using Refund via Rocketpay option in WordPress Dashboard.

Figure: The diagram of payment processing with plug-in enabled
Request for opening the payment page is automatically generated by the plug-in when Rocketpay is selected as a payment method.
If the payment is declined, a customer may re-enter the data on the payment page.
Upon receipt of the payment result, a callback is sent to the site's system. The callback is processed by the plug-in automatically. In accordance with the payment result, the status of the order changes to:
- On hold—payment is declined.
- Processing without changing payment amount—payment is successful.
- Processing with changing payment amount—partial refund is successful.
- Refunded—full refund is successful.
- Partially refunded—partial refund is successful.
Installing
To install a plug-in, do the following:
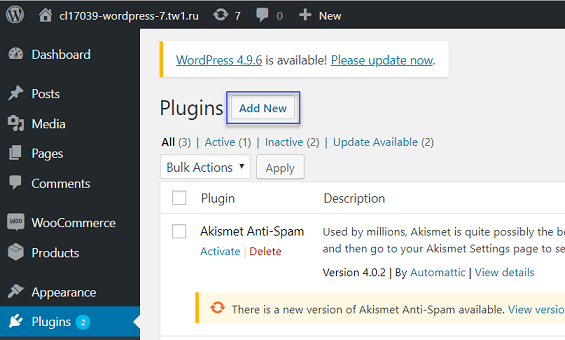
- Open WordPress.
- Go to the Plug-ins section and click the Add New button.
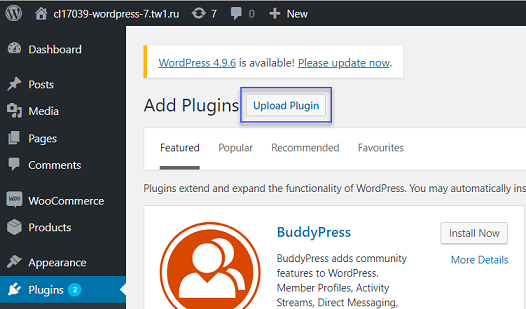
- Click the Upload Plugin button.
- Select the archive with the plug-in and click the Install Now button.
- Once the plug-in is installed click the Activate Plugin button.
- Make sure, that message Plugin activated has appeared.

Testing
When the plug-in is activated, the test mode is used by default. By using this mode, you can get familiar with the operation process of the plug-in connected to the site, without an option to perform payments in real time. In the test mode, you may configure and test the plug-in, perform test orders, full and partial refunds and view information about them.
Configuration
To configure parameters of the plug-in in the test mode, do the following:
- Go to the section .
- Click the Manage button
- Configure the required settings. For more details see below.
- Make sure that the Test mode checkbox is selected.
- Click the Save changes button.
Plug-in settings include the following parameters:
- Checkbox Enable Rocketpay—to display the payment method by using Rocketpay payment page on the site.
- Parameters of Rocketpay payment page operation while displaying:
- Title—the name of the payment method to show on the site.
- Description—information about the payment method on the site.
- Base URL—use this box to specify the base URL of Payment Page. Ask your account manager or support service for your Payment Page domain name, if you don't know it yet.
- Additional parameters— if necessary, use this field to specify any other parameters using the ampersand (&) as a separator. The complete list of additional Payment Page parameters is available here
- Display mode—the way of displaying the payment page in the iframe object, popup or in the current tab.
- Parameters Project ID and Secret key are used for implementing Rocketpay payment solutions.
They are not used in the test mode.
Performing test orders
Once the parameters of the plug-in are configured you should perform test orders on the site and check information regarding the orders in WordPress in the section .
Performing test refunds
Once test orders are performed you should perform test refunds and check information regarding the refunds in WordPress in the section .
- Go to the section Orders.
- Choose order you want to refund. The order status should be Processing or Completed.
- Click the Refund button.
- Enter the amount to refund.
- Click the
Refund via Rocketpaybutton.
After refund is performed the order amount should change on the refund amount, also message about performed operation should appear in Order notes.
Launching
Once the plug-in is tested using all the planned payment methods it may be switched to production mode. In order to do this, you should receive the parameters for the production mode and adjust settings.
Receiving the parameters for the production mode
To receive the parameters for connecting to Rocketpay payment solutions, do the following:
- Contact Rocketpay technical support and provide the following parameters:
- The site name and its URL.
- The payment page currency.
- URL to receive callbacks (URL, specified in settings, in the section Callback endpoint).
- Receive from Rocketpay technical support the following parameters:
- Project ID—site identifier.
- Secret key—secret key, that is generated for a particular merchant in the Rocketpay processing system.
Configuring the operation settings of the plugin
In order to set the operational parameters, do the following:
- Open WordPress.
- Go to the following section and configure the operation settings:
- Make sure, that Enable Rocketpay checkbox is selected.
- Clear the Test mode checkbox.
- In the Project ID and Secret key boxes, enter the values obtained from Rocketpay technical support.
- Base URL—use this box to specify the base URL of Payment Page. Ask your account manager or support service for your Payment Page domain name, if you don't know it yet.
- Additional parameters— if necessary, use this field to specify any other parameters using the ampersand (&) as a separator. The complete list of additional Payment Page parameters is available here
- Click the Save changes button.
Using
Once the plug-in is launched it operates autonomously.
We recommend that you control orders by reviewing the information in the section, and also to make sure that order numbers are unique within the site. In the case when an order number duplicates, the payment page does not open and the order's status remains On hold.
Before you switch the plug-in from back to the production mode, make sure that the Project ID and Secret key fields are populated with the values received from Rocketpay technical support.
If you have any questions regarding the plug-in operation, contact Rocketpay technical support at support@rocketpay.kz